Altitude Editor Manual
A quick tutorial on how some of the Official Altitude maps were made:
Step 1: Draw a pretty picture in your favorite Image Manipulation Program like Photoshop or GIMP
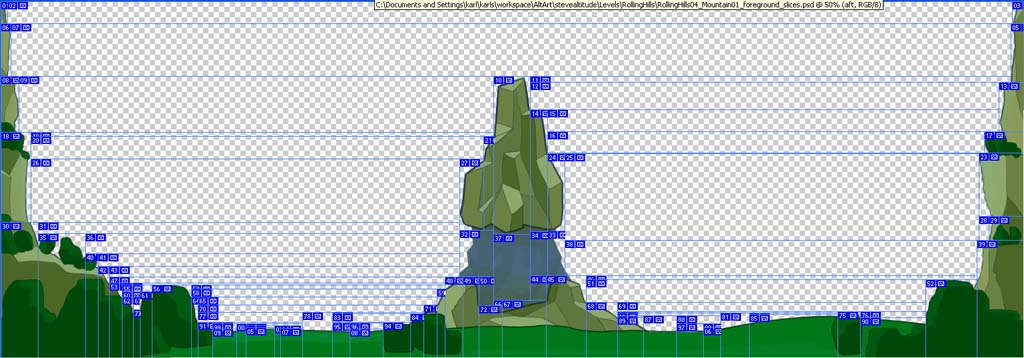
An example pretty picture drawn by the Altitude artist Steve Canniff:
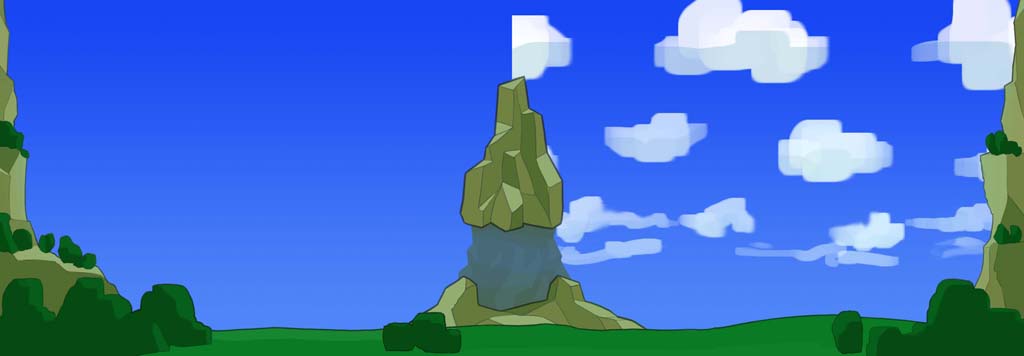
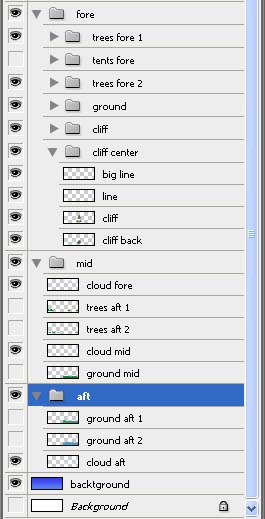
Using lots of layers and groups in your Image program will make your life alot easier. Example of the layers in hills:
Now the tedious part, slicing your image. The slice tool in photoshop will make your life a lot easier on this one. Slicing the image into lots of pieces insures that your map will get good performance even on low end hardware.
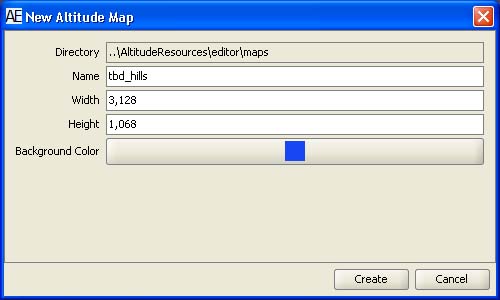
Step 2: Creating a new map
File Menu->New->Map
Note: It is important to set the background color of your map. Some people with lower end hardware have the background layers turned off. You can change the background color to your map at any time File Menu->Map->Change Background Color
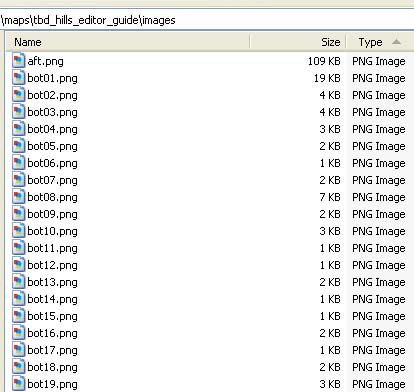
Move all the sliced images into the images directory
Layers are your friend
Each view in Altitude Editor has 9 layers:
Layer 1 renders (draws) first. Therefore it renders under all other layers. AKA the other layers are drawn on top of it.
By pressing 1-9 you select that layer in the editor. 0 Selects all layers.
NOTE: Layers are difference from views! Don't think of layer 1 as your background. Your background will be its own view.
Press 3 to choose layer 3
Note that "Edit layer:" is set to 3 and the 3 checkbox is grayed out.
Placing all our pretty picture slices into layer 3
The first step after placing new images into the images or texture directory is to refresh. File Menu->Edit->Refresh Resources.
All of our slices will be placed into the map using Place Sprite. File Menu->Window->Place Sprite
After placing a sprite you will probably need to adjust it's position. File Menu->Selection->Transform caption
Tip: You may find yourself off by 1 or 2 pixels check for overlapping sprites:
Set all the geometry you just placed to non collidable
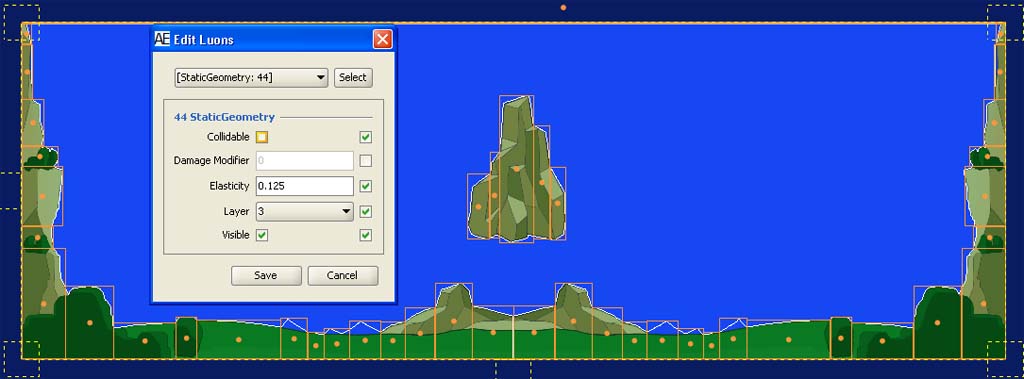
Creating collidable geometry
Switch to layer 4 by pressing 4 on the keyboard to selecting if from the Edit Layer drop down in the Filter View window.
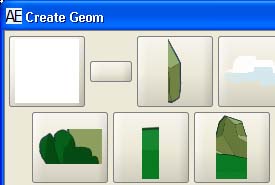
Open the Create Geom dialog. File Menu->Window->Show Create Geom
Click the white tile and then click somewhere on the canvas. The first place you click will be the center point for the geometry you are about to create.
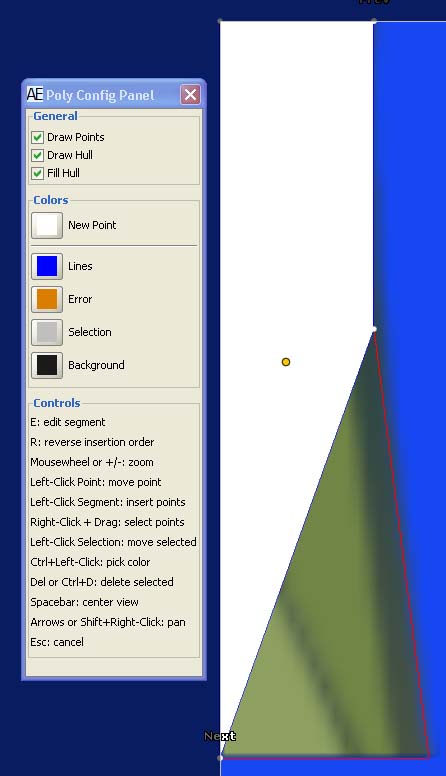
You place points one by one. Notice the hot keys in the Poly Config Panel window. When you're done creating all your collidable geometry select it all right click and uncheck the visible box. Now just create all the other views. Place your powerups, turrets and bases.
NOTE: You can open all official maps in the map editor. File Menu->File->Open. Navigate to C:\Program Files\Altitude\maps and open the map you wish to view.
